Home
videos
instagram
contact
articles
search
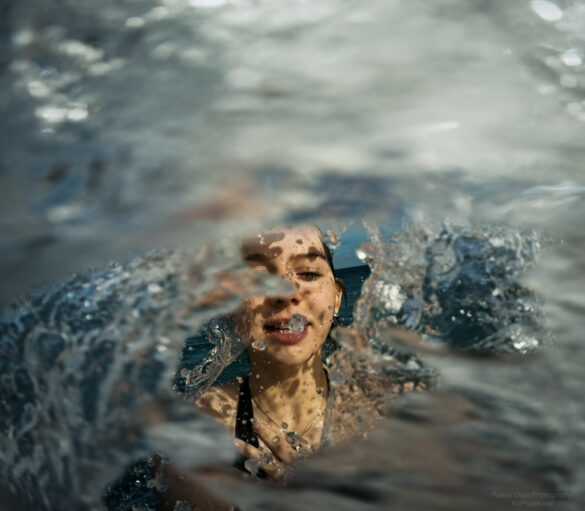
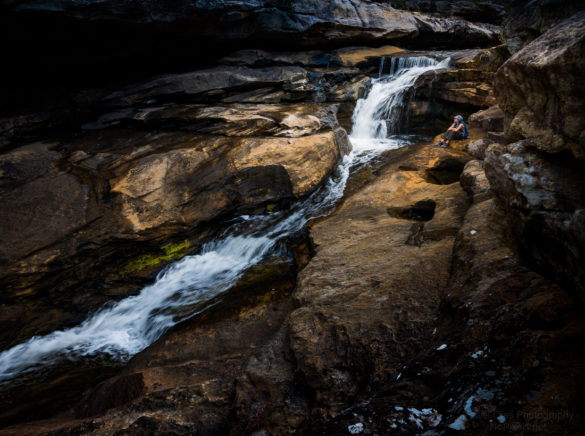
lucky wave
January 20, 2024
·
photography
·
0comments
1
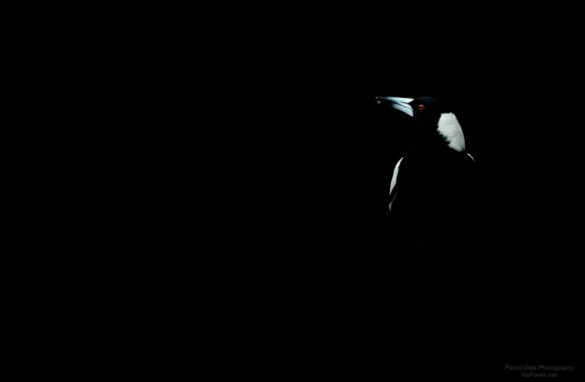
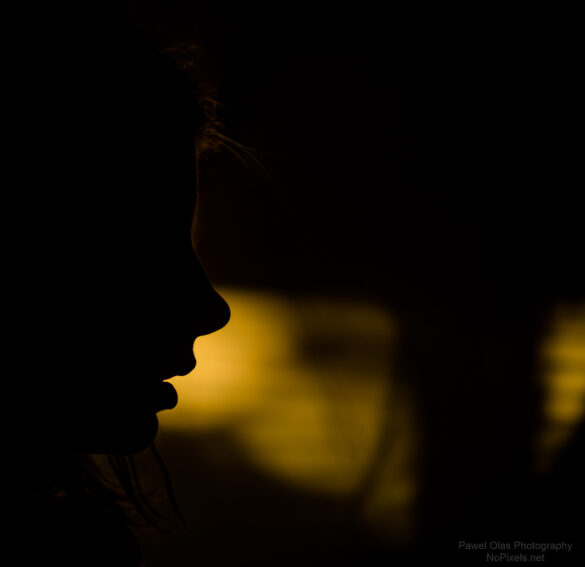
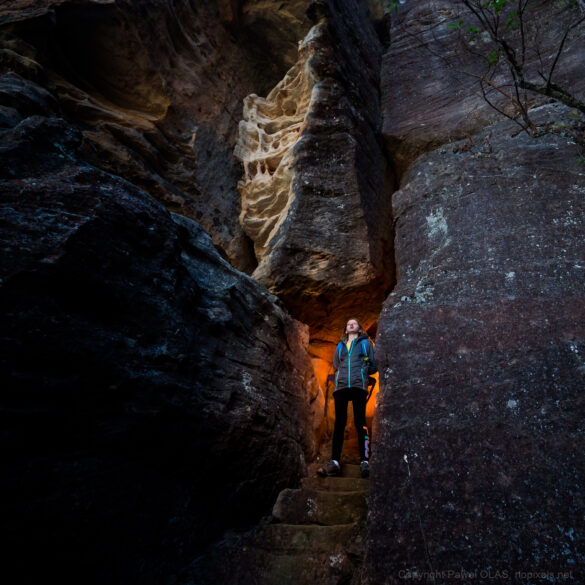
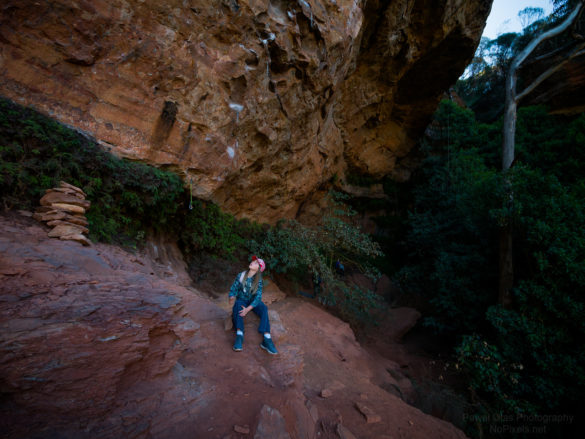
night camouflage
August 13, 2023
·
photography
·
0comments
1
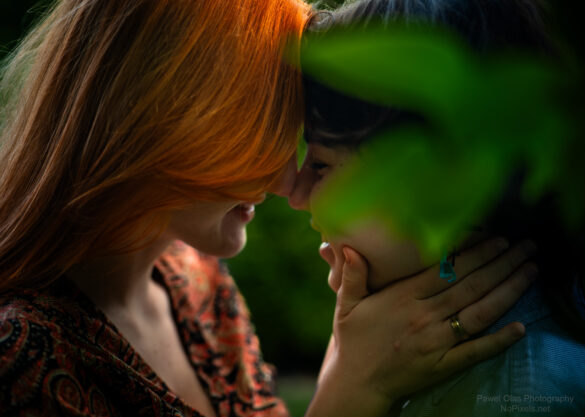
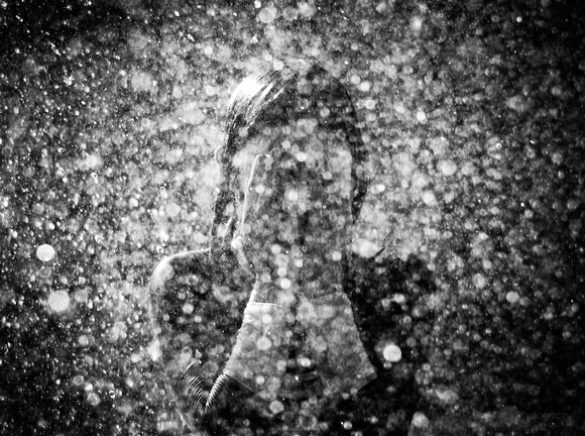
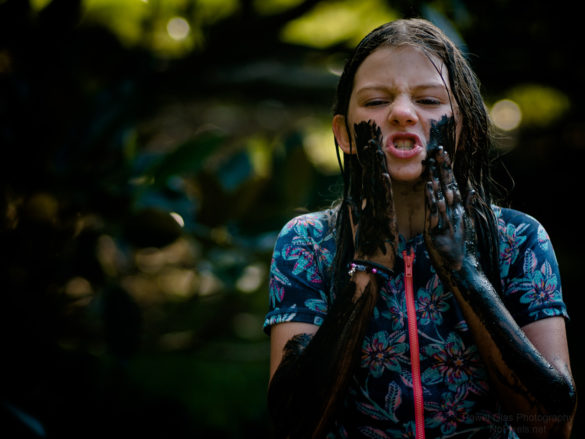
love
June 25, 2023
·
photography
·
0comments
1
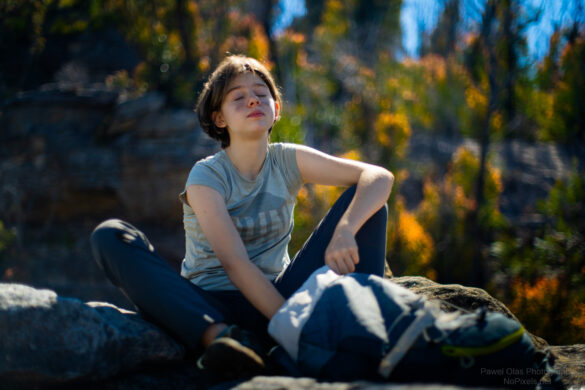
enjoying the sun
October 08, 2021
·
bushwalking
,
photography
·
0comments
0
contour
April 08, 2021
·
photography
·
0comments
0
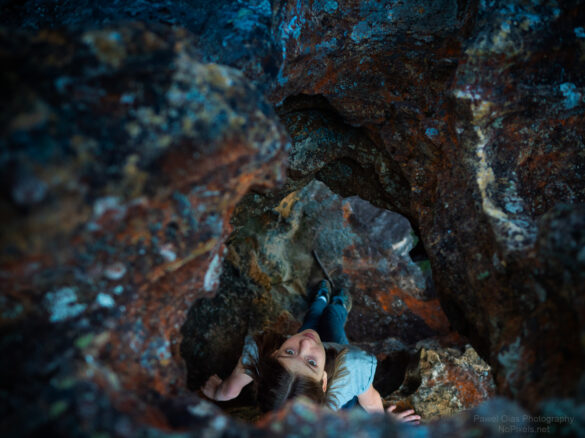
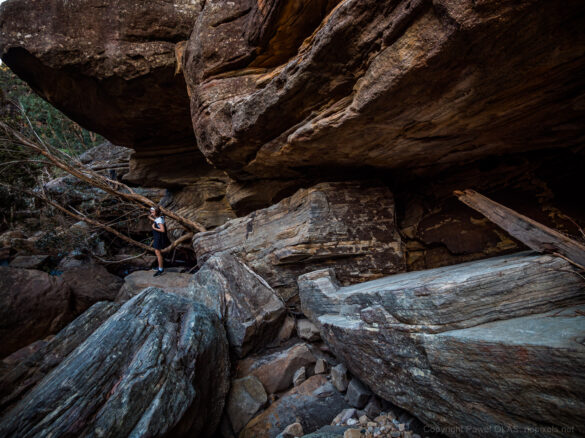
in a hole
April 05, 2021
·
bushwalking
,
photography
·
0comments
0
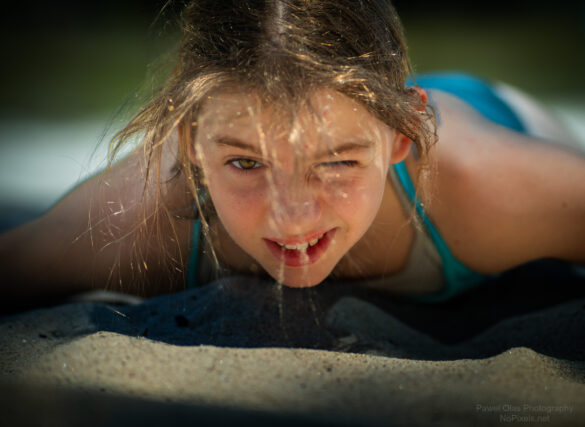
face plant
November 08, 2020
·
bushwalking
,
photography
·
0comments
0
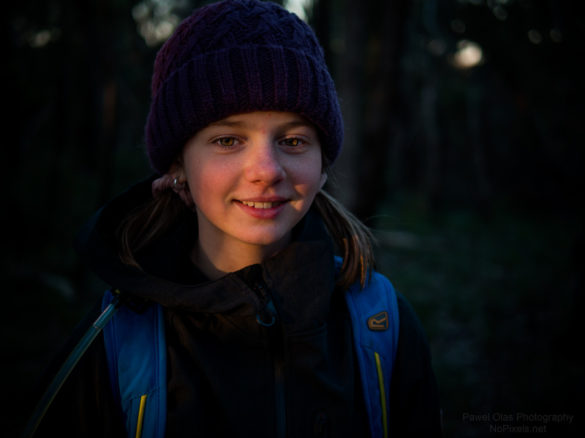
last rays
July 14, 2020
·
photography
·
0comments
5
recovering from fire
June 08, 2020
·
bushwalking
,
photography
·
0comments
0
big X
May 15, 2020
·
bushwalking
,
photography
·
0comments
1
autumn in lockdown
April 28, 2020
·
photography
·
0comments
3
coming out from an oven
April 23, 2020
·
bushwalking
,
photography
·
0comments
1
abstract
April 14, 2020
·
photography
·
0comments
6
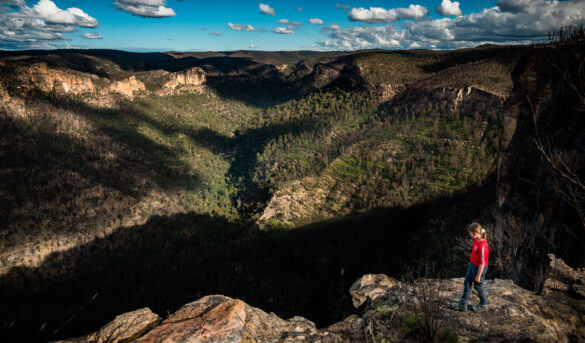
scale is everything
November 04, 2019
·
bushwalking
,
photography
·
0comments
2
too many colours
April 29, 2019
·
bushwalking
,
photography
·
0comments
2
adventure time!
April 15, 2019
·
photography
·
0comments
4